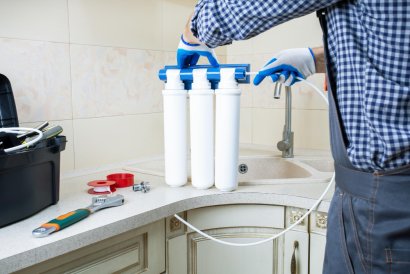
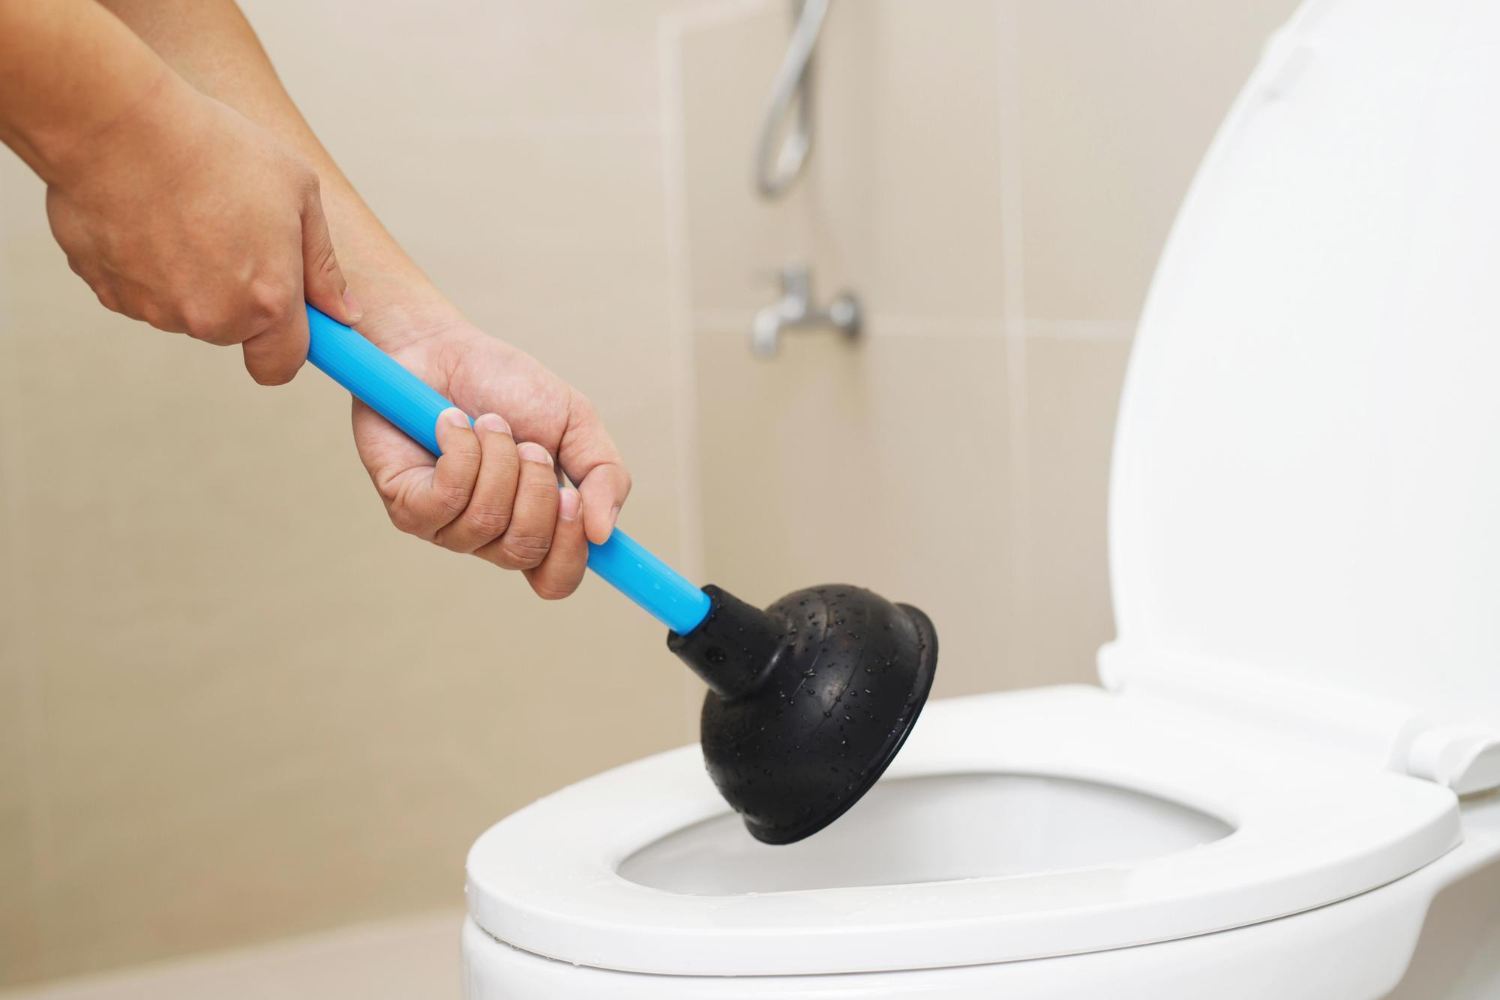
A clogged toilet is not only inconvenient but also poses significant hazards if left unattended. If you notice telltale signs of buildup, such as backups and irregular water levels in the bowl, act quickly to prevent devastating scenarios. A common tool in most households for dealing with toilet clogs is a plunger, specifically a flange plunger. This is a plumbing tool that is specifically designed to clear accumulated waste in toilets, restoring water flow and functionality. If you prefer a more hands-on approach, here are 8 steps to help you plunge your toilet correctly.
Prepare the Area Around the Toilet
Plunging is a messy job. With that said, wearing protective gear like gloves and laying towels around the work site is crucial. If you have limited bathroom space, remove items that can obstruct you from plunging effectively.
Level the Amount of Water in the Bowl
To maximize the effectiveness of plunging, fill the bowl with water halfway, enough to submerge the plunger. This is also vital because it creates suction that allows you to clear buildup and restore flow.
Place the Flange into the Toilet Drain
Once the amount of water in the bowl is level, gently place the flange into the toilet drain. Maneuver the plunger to ensure it fits snugly on top of the bowl’s drain. Insert the plunger at an angle, filling the flap with water as you fit it.
Fit the Cup Over the Drain
The next step is to ensure the plunger’s cup fits over the drain, creating a seal. The water between the drain and the cup will generate suction pressure to clear the buildup. This step is vital to ensure your plunger is the right size for effective plunging.
Position and Test Your Seal
When you place the cup over the bowl’s drain and create a seal, test it before proceeding. Press the flange down and then back up slowly as if you are clearing a clog to ensure the seal stays in place. If your seal is not holding up, it might be a good idea to find another plunger or hire a plumber in Atlantic City, NJ to leverage their extensive tools.
Plunge Forcefully
While plunging may seem straightforward, there is a formula to ensure maximum effect and long-lasting results. Professional technicians recommend pushing down the flange at intervals of 5 to 6 plunges. However, do not plunge with excessive force to avoid further damage and emergency plumbing repair services. Repeat the motion for 20 seconds to ensure the buildup clears properly.
Check the Water Level
After plunging your toilet for 20 to 30 seconds, break the seal and remove the flange. If you hear a gurgling sound from the drain, it means the clog has cleared. In addition, check the water level in the bowl if it has cleared completely from the bowl, as it indicates the drain is clog-free. In the case of stubborn clogs, repeat the plunging process or call a professional plumbing repair service to help.
Test to See If the Clog is Gone
Before flushing your toilet, remove the tank lid and press the handle. Watch the bowl closely! If the clog is still in the drain lines, the toilet will not flush, and water will fill the bowl. The best way to prevent an overflow in such cases is to manually close the flapper. It is advisable to re-try plunging at least five times before consulting a professional plumber for more effective solutions.
Now that you know the 8 key steps to plunging the toilet, you can prevent minor clogs from getting out of hand. If you are dealing with stubborn or recurring blockages, contact Mr. Rooter Plumbing and let us handle the heavy lifting. Our plumbers leverage specialized tools and proven strategies to inspect, detect, and fix toilet clogs efficiently at competitive rates.