Is your toilet’s water supply line leaking, old, or malfunctioning? If so, don’t worry! Replacing it is a straightforward task that can be completed with a few tools and some basic DIY knowledge. However, if you prefer a more hands-off approach, hire a professional plumber to avoid damage and premature toilet replacement emergencies. At Mr. Rooter Plumbing of South Jersey, we understand the satisfaction of handling home improvements alone, but you need the skills and tools required to avoid costly scenarios. Here are the six vital steps to ensure a smooth toilet water supply line replacement.
Gather Your Tools and Materials
Before you begin, gather all the tools and materials. You will need a bucket, an adjustable wrench, a new toilet water supply line that matches the specifications of your current one, a plumber’s tape, and a towel or rag for cleanup. You can find most of these items from the local convenience store, but if you are on a budget, hiring a plumber can streamline the process without breaking the bank.
Turn Off the Water Supply
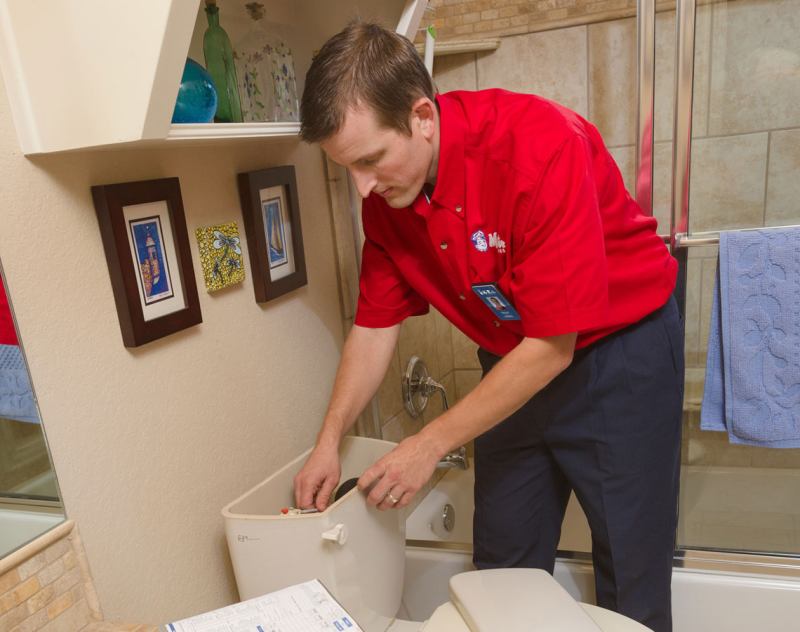
Once you have all the tools, turn off the water to the toilet. The shut-off valve is usually near the base of the toilet, and turning it clockwise ensures there’s no water flowing to your fixture. After turning off the water, drain the supply line and the tank of any remaining water. In case water is still flowing into the tank, call a plumbing service provider to address the underlying problem.
Remove the Old Water Supply Line
With the water turned off, loosen the connections on both ends of the old water supply line with your adjustable wrench. One end will be connected to the shut-off valve, and the other end will be connected to the toilet tank’s fill valve. Place a bucket underneath to catch any residual water, then carefully remove the old supply line.
Prepare the New Water Supply Line
Before installing the new water supply line, it’s a good idea to apply the plumber’s tape to the threads of the connections. This will help create a watertight seal, prevent leaks, and mitigate unplanned toilet replacement scenarios. Make sure the tape is wrapped securely around the threads, but avoid over-tightening, as it may cause damage. The new supply line should have the specifications of the old one for compatibility. The last thing you want are recurring malfunctions and frequent plumbing repair service calls.
Install the New Water Supply Line
With the old supply line removed and the new one prepared, it’s time to install the new line. Connect one end to the shut-off valve, ensuring it’s tightened securely with your adjustable wrench. Then, connect the other end to the toilet tank’s fill valve in the same manner. Double-check that both connections are tight to prevent leaks. If the connection is loose, you risk water damage and a costly toilet installation.
Turn On the Water Supply and Test for Leaks
Once the new water supply line is installed, slowly turn the shut-off valve counterclockwise to restore the water supply to the toilet. Allow the tank to fill, then inspect the connections for any signs of leaks. If you tighten the connections further than needed and notice leaks, call a plumbing repair service quickly. Professionals can ensure a secure and leak-free toilet without compromising functionality.
Plumbing service experts recommend these simple steps to help you replace your toilet’s water supply line and restore proper functioning to your bathroom fixture. Contact us at Mr. Rooter Plumbing of South Jersey and schedule a consultation with our experts. We provide comprehensive plumbing services, including toilet installation, repair, and maintenance, at unbeatable rates.