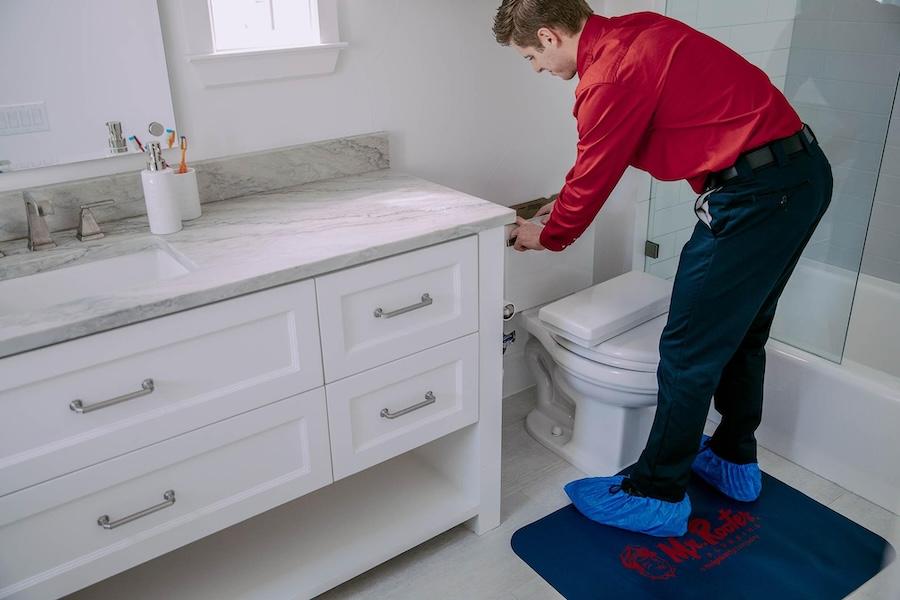
Do you have a toilet installation or upgrade project lined up? If so, understanding the process is crucial for a functioning and durable fixture. While many components are involved, the seat might require expertise and the right approach to ensure it functions as expected. Whether replacing an old seat or installing a new one, working with professional plumbing service experts can provide a secure and comfortable fit. Let’s look at installing a seat during a toilet replacement or installation job.
Gather Your Tools and Materials
Gather all the proper tools and materials before replacing or installing the toilet seat. Depending on the type of bolts used, you’ll need a screwdriver, adjustable wrench, and possibly pliers. In addition, ensure you have the new toilet seat, including any bolts or hardware provided. If you prefer a more hands-off approach, a plumber to handle the job. Plumbing service providers usually show up with everything on hand to streamline the installation process and prevent disruptions.
Remove the Old Toilet Seat
Remove the old toilet seat once you have all the proper tools for the job. This may involve unscrewing bolts or nuts and securing the seat to the toilet bowl. Use a screwdriver and wrench as needed to loosen and remove the hardware. Once the old seat is detached, lift it away from the toilet bowl and set it aside for disposal or recycling. This offers an opportunity to clean the area thoroughly before proceeding with the installation of the new seat.
Position the New Toilet Seat
With the old seat removed, position the new toilet seat over the bowl. Ensure that the seat aligns correctly with the mounting holes on the toilet bowl rim. Most toilet seats have hinges that allow for minor changes to fit various bowl shapes and sizes. Call a plumbing repair service to handle the job if you can’t adjust the seat position to sit evenly and securely on the bowl rim.
Secure the Toilet Seat
After positioning the new seat, secure the toilet seat. Insert the bolts provided with the seat through the mounting holes on the bowl rim from underneath. Depending on the type of seat, you may need to thread nuts onto the bolts or use snap-on caps to secure them in place. Tighten the bolts using a screwdriver and wrench, being careful not to over-tighten, which could damage the seat or bowl. Ensure the seat remains level and stable, as the slightest problem can grow into costly toilet replacement projects.
Test for Stability and Comfort
After securing the toilet seat, please gently shake it to ensure it is firmly attached to the bowl. If the seat feels loose, tighten the bolts until stable. Sit on the seat to test its comfort and stability underweight. Adjust the seat if necessary to achieve a comfortable position. Also, check that the seat and lid can open and close smoothly without obstruction.
You can install a toilet seat confidently and follow these vital steps. Remember, a reputable plumbing repair service can respond to any inquiries and take over the project if you need help. Contact us at Mr. Rooter Plumbing and schedule a consultation with a professional plumber. We provide exceptional services, including toilet installation and maintenance to ensure your fixture provides years of reliable service.